In short
- Rows, columns and 3×3 boxes all burst. Several at once pay far more than one at a time: two lines are worth 60, three are worth 120.
- A combo multiplies every burst. It survives two placements without a burst, so you have time to set up the next one.
- Plan all three shapes in the tray before placing the first, and place the awkward one first.
- Keep at least one empty 3×3 area. It fits almost every shape the game can deal.
The basics
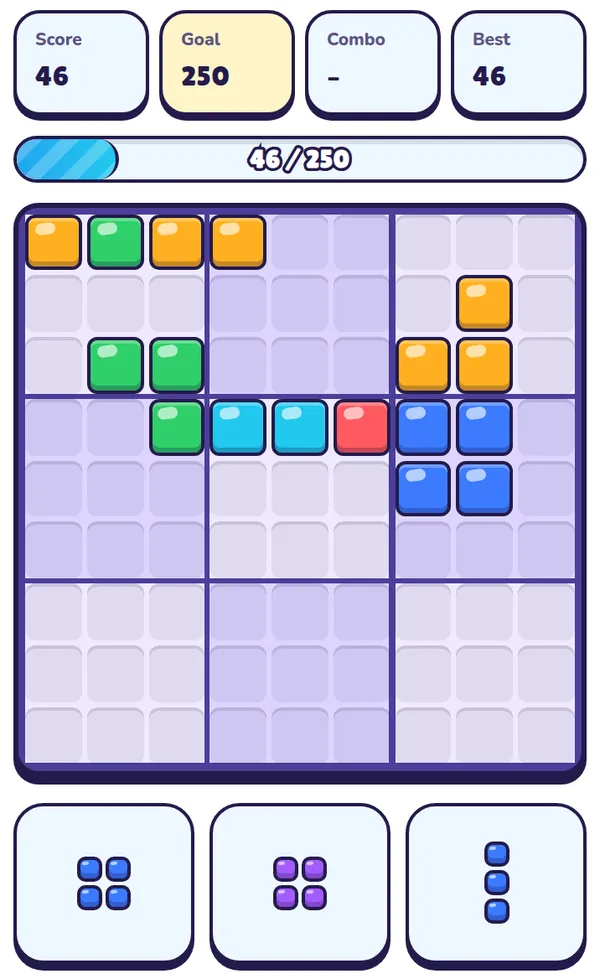
You have a nine-by-nine board, split into nine 3×3 boxes, and a tray of three shapes. Put a shape anywhere it fits. When a whole row, a whole column or a whole 3×3 box is filled, it bursts and its squares empty. When all three shapes are placed, three new ones arrive. The game ends when none of the shapes left in your tray fits anywhere on the board.
Shapes cannot be turned unless you hold a Rotate card. Drag a shape onto the board, or tap a shape and then tap a square; while you aim, the squares that would burst light up. On a keyboard, 1, 2 and 3 pick a shape, the arrow keys move it and Enter places it.
How scoring works
Every point in Blockburst comes from one of four sources:
| Placing | 1 point for every square of the shape you place. |
|---|---|
| Bursting | Counted by how many rows, columns and boxes burst with a single placement: 1 = 20, 2 = 60, 3 = 120, 4 = 200, and 100 more for each one after that. |
| Combo | Burst points are multiplied by your combo: ×1 for the first burst, ×2 for the next, ×3 after that, and so on. |
| Clean board | +300 when a burst leaves the whole board empty. |
The combo is the part most players misread. It does not need a burst on every move. After a burst, you may make up to two placements that burst nothing and the combo is still alive; burst on the third placement and it goes up by one. Only a third quiet placement in a row resets it. The Combo box at the top shows the multiplier once it reaches ×2.
A quick example: you are on a ×2 combo and drop a four-square shape that finishes a row and a column at the same moment. That is 4 points for the squares plus 60 × 2 for the two lines: 124 points. Burst one at a time on back-to-back moves, the same two lines give 20 × 2 plus 20 × 3: 100, and cost an extra move.
Strategy: plan the whole tray
The biggest improvement you can make is to look at all three shapes before placing any of them. Ask: if this one goes here, where do the other two go? A careless first placement can leave the third shape with nowhere to go, even on a fairly empty board.
We tested this with two computer players on Medium boards. One placed each shape in the best spot it could see for that shape alone. The other tried all three orders of the tray before choosing. The second player scored nearly three times as much on average, from exactly the same deals.
- Place the awkward shape first. Long bars, big corners and the 3×3 square need a lot of room. Small shapes can always be tucked in later.
- Keep one big open area. In the same tests, a player who also tried to keep empty 3×3 areas on the board roughly doubled its score again on Medium boards, and tripled it on Hard ones. An empty 3×3 patch takes every shape in the game except the four- and five-long bars.
- Avoid single holes. A lone empty square boxed in on all sides needs a one-square shape to fill it, and those become rare in later levels. Two lines each waiting for one awkward square is how most boards die.
- Use the boxes. A 3×3 box needs just nine squares, and the square and rectangle shapes fill one neatly.
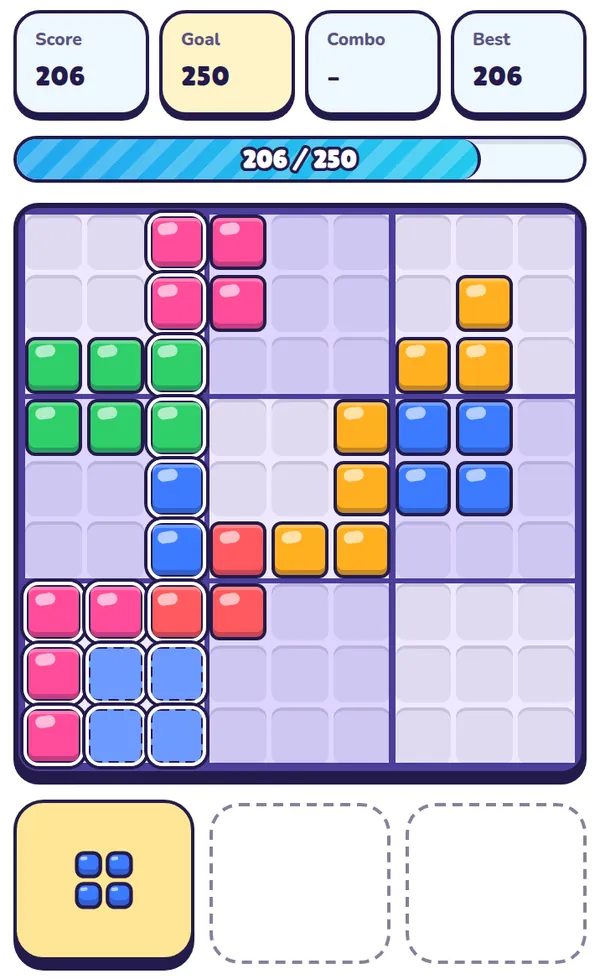
- Build crossings. When a row, a column or a box are all missing squares in the same place, one shape bursts them together. This is where 60- and 120-point bursts come from.
Setting up combos
Because a combo survives two quiet placements, a good rhythm is to keep two or three lines nearly finished at once: burst one, top up another with the next shape, burst again. But do not chase a combo at the cost of space. A ×4 burst is worth nothing if the next tray has nowhere to go; on a crowded board, take the plain burst that opens room.
The clean-board bonus is 300 points, more than a ×2 double burst. Early in a game, when only a few blocks are down, check whether one shape could empty the board completely before you start a new area.
Levels, goals and stones
Each level asks for a score. Reach it and the level is cleared: move on, or keep playing the same board for a high score. Run out of room first and you try again.
| Easy, levels 1–3 | Goals 250, 370, 510. No stones. Friendly shapes: no 3×3 square and no big five-square corners. If a new tray has nothing that fits, the game quietly re-deals it (up to six times). |
|---|---|
| Medium, levels 4–8 | Goals 670 rising to 1,510. Four stones on the board at the start. |
| Hard, levels 9–14 | Goals 1,760 rising to 3,010 (250 more per level). Eight stones. Awkward shapes are dealt more often. |
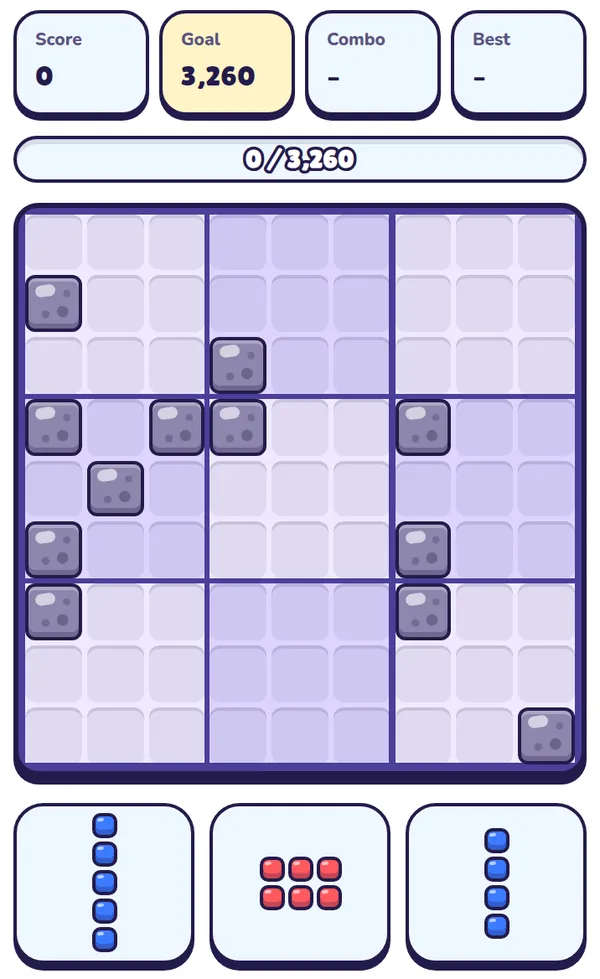
| Expert, level 15 on | Goals from 3,260: 250 more per level up to level 20 (4,510), then 300 more per level. Twelve stones, and no re-dealing of hopeless trays. |
Stones are grey blocks scattered on the board before your first move. They are not permanent: a stone bursts with any row, column or box you complete around it. Treat each one as a square already filled for you, and build lines through it rather than around it.
Bonus cards and hints
Every time you clear a level you turn over one of three face-down cards. What you win is waiting for your next game (not the daily board), and anything you do not use by the end of that game is gone.
| ⟳ Rotate | 3 or 5 quarter turns. Pick a shape and press Rotate (or R) to turn it clockwise. Shapes that look the same turned round, such as squares, do not use one up. |
|---|---|
| ⇄ New shapes | 1 or 2 swaps. A swap replaces the tray with three brand-new shapes, even if you had already placed two of the old ones. Save it for a stranded third shape: you get three fresh shapes for one. |
| ×2 Double bursts | Your next 3 bursting moves score double burst points. It is used up by any move that bursts, big or small, so plan multi-line bursts while it lasts. |
| 💡 Hints | +2 hints on top of the usual 3. |
You get 3 hints per game (H on a keyboard). A hint shows a good spot for one shape, looking only one move ahead, so treat it as an idea rather than a plan for the whole tray.
The daily board
Switch on Today's board and everyone starts from the same game: the same stones and the same shapes dealt from the same sequence. It uses the Medium setup with four stones, has no goal, and your bonus cards stay in your pocket. You simply play until you run out of room, then compare scores. A fresh board arrives each day, and playing on consecutive days builds a streak.
Ready to try it? It's free and runs in your browser.
Play Blockburst